Blog
-
Posted: March 11, 2024Categories: Prototyping
 Read more »
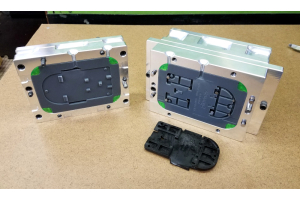
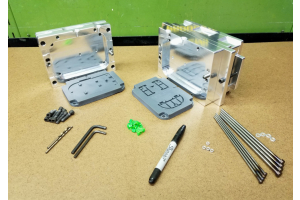
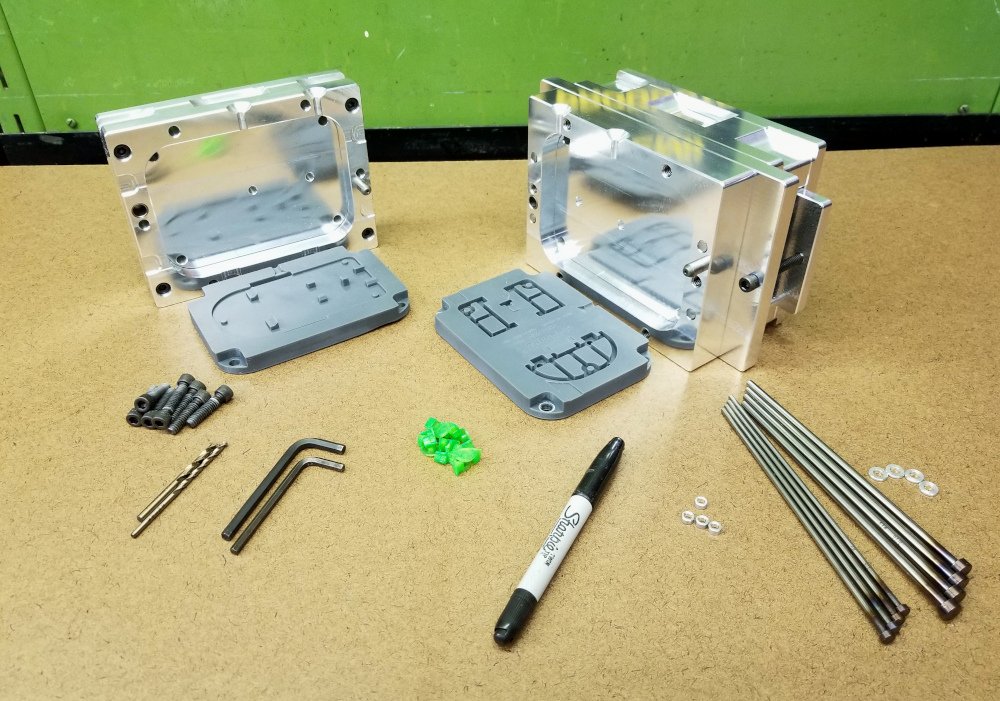
In part 1 of this series, we showed the process of adding ejector pins to a prototype injection mold using a Syncorda Protoframe mold frame with ejection. In this part, we will show the mold being used to make parts on a Buster Beagle 3D MK3 bench top injection molding machine.
Step 1 - Setup
The B/core side of the mold was already be set up in part 1. Next, we install the A/cavity side of the mold in the mold frame. When using resin 3D printed mold inserts, we get the best results when the insert is very slightly above or “proud” of the mold frame. This causes the insert to compress a bit when the mold is clamped shut, and reduces mold flash. When necessary, we add a paper shim behind the mold insert to achieve this. The insert is just high enough to feel the height difference with a finger. When using metal inserts, having the insert flush with the edge of the frame is preferable.
Below, the two halves of the mold are shown ready to use. We have also installed insert bolt head covers -
Posted: March 10, 2024Categories: Prototyping
 Read more »
On a simple injection mold with shallow features, it is often possible to extract parts manually by pulling on the part, or using a screwdriver or chisel to pry an edge out. When parts start to get more complicated or have deeper features though, it can be challenging to extract them without damaging the part or the mold. Not only is prying parts out of a mold time consuming, prototype molds that are 3D printed or made from aluminum are very easy to damage with steel tools. The solution is to add an ejection system. In this post we will show the process of setting up an ejection system with a 3D printed mold insert installed in a Syncorda Protoframe mold frame.
Tools
- Drill press
- Handheld drill
- Drill bits sized for ejector pins
- Abrasive cutoff saw or angle grinder with cutoff wheel
- Bench grinder
- Fine tip marker or layout stain for marking ejector pins
- V-Block with clamp or threaded 1-2-3 block with bolt
- Vernier caliper
- PPE - hearing and eye protection
The holes for the ejector pins need
-
 Read more »
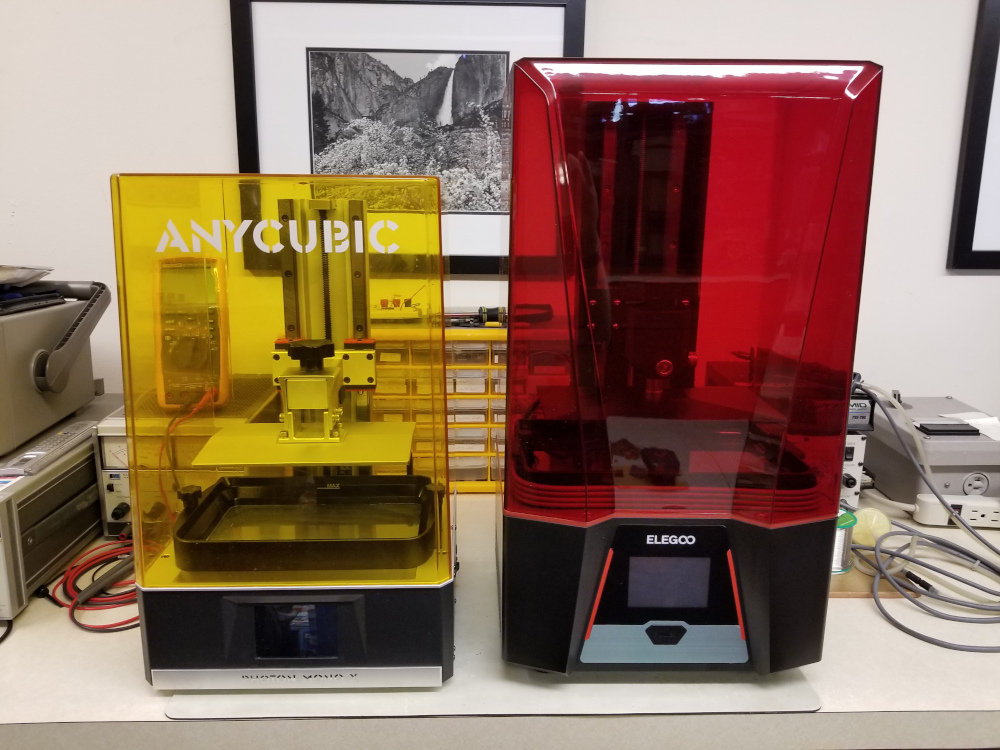
I have been using MSLA resin printing for a while now to create injection molds for product prototypes. The product I have been working on recently is a DIN rail mount for a B/W Controls relay, and it is wider and flatter than parts I have done before. I was struggling to get a 3.75” x 5.25” mold insert to print without warping on my Anycubic Photon Mono X, when I came across this blog post with a really clever technique for reducing shrinkage and warping in prints.
In short, by breaking each layer into multiple interleaved exposures, the shrinkage due to resin curing can be reduced dramatically. Great, so I had a new tool to try to improve my dimensional tolerances. The author of the blog, Jan Mrázek provided a script for UVTools to convert a sliced file into multiple exposures per layer that was simple enough to use. I ran the script on my latest mold file, and started a print on my Anycubic Photon Mono X. When I came back the next morning, I was disappointed to find that my mold was
-
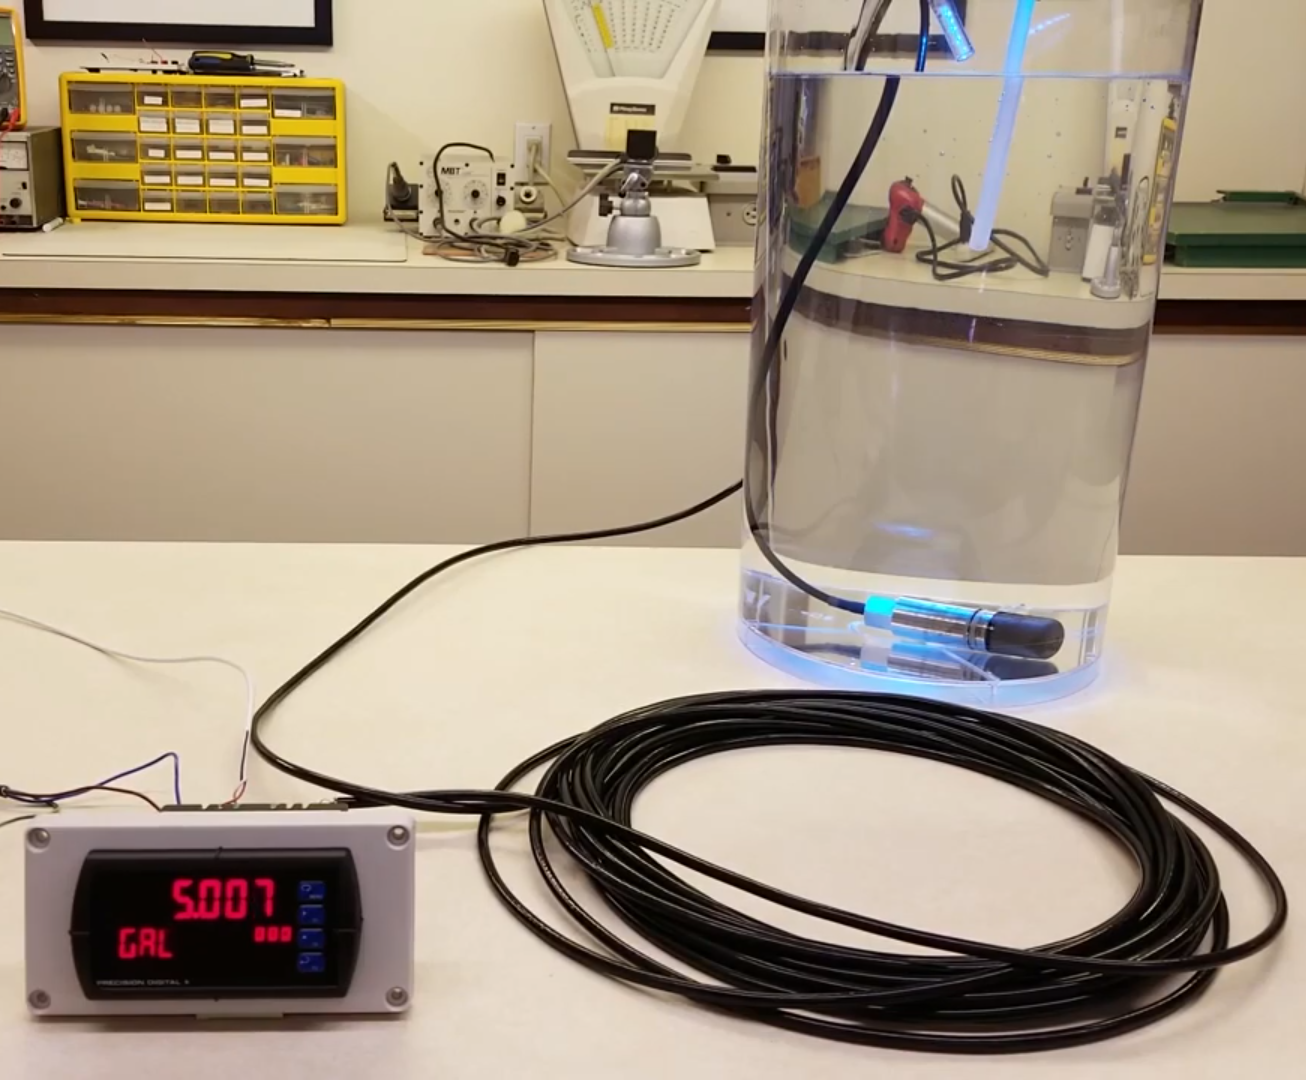
Posted: July 15, 2020Categories: Liquid Level
 Read more »
The Situation
Liquid level sensing is a tremendously important engineering challenge that is critical in many industries around the world, from factories to municipal water systems. Though technology has made progress in leaps and bounds in recent years, many traditional technologies are still widely used for a plethora of possible reasons, even on new systems. For example, one may be simply maintaining or repairing an old system because it seems quicker or less costly, it may be what the engineers are familiar with, parts may still be on hand, or maybe it “just works.” However, there are many important reasons to consider newer technologies, such as hydrostatic level sensing.
The Problem
Implementing and maintaining liquid level control systems can be complex, and varies significantly depending on the installation. Therefore, many common challenges come along with it. For example, different types of liquids can require vastly different types of systems. Even slight differences in mineral